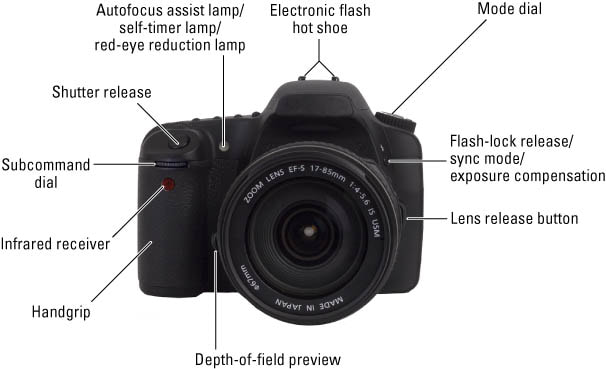
The SLR Camera

The SLR camera is a single-lens reflex camera is a camera that typically uses a mirror and prism system that permits the photographer to view through the lens and see exactly what will be captured. With twin lens reflex and rangefinder cameras, the viewed image could be significantly different from the final image.
Aperture

Aperture refers to the opening of a lens's diaphragm through which light passes. Lower f/stops give more exposure because they represent the larger apertures, while the higher f/stops give less exposure because they represent smaller apertures.
Depth of field
For many cameras, depth of field is the distance between the nearest and the farthest objects that are in acceptably sharp focus in an image. The depth of field can be calculated based on focal length, distance to subject, the acceptable circle of confusion size, and aperture.
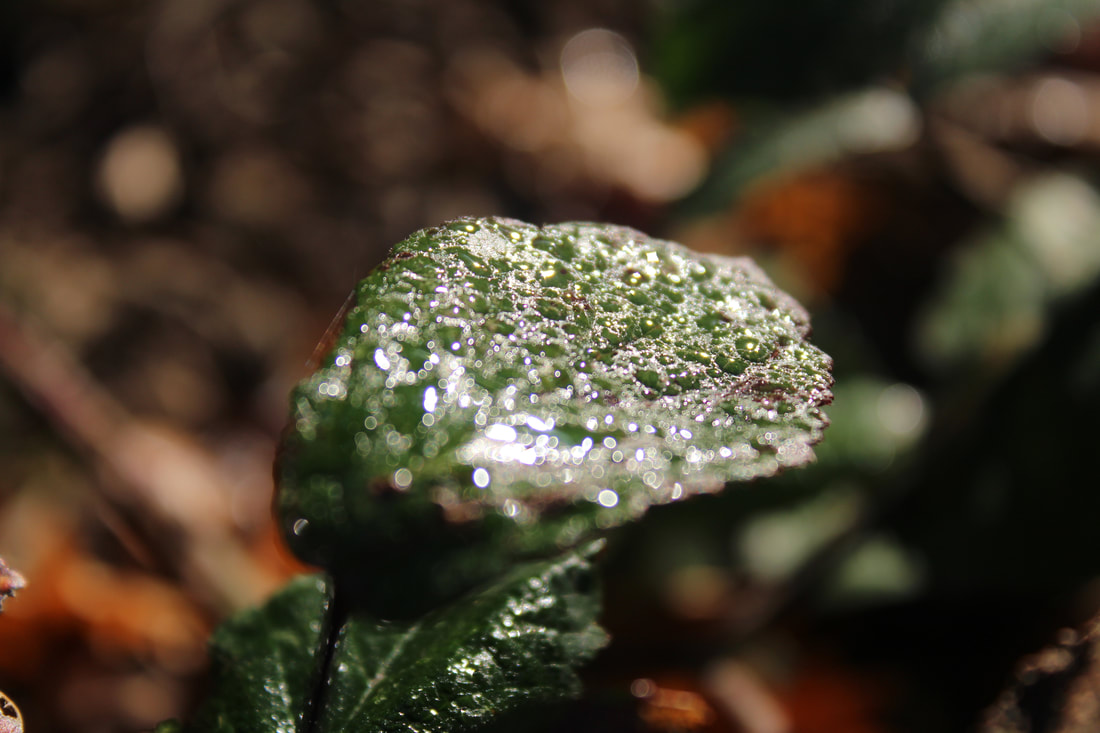
F5.6
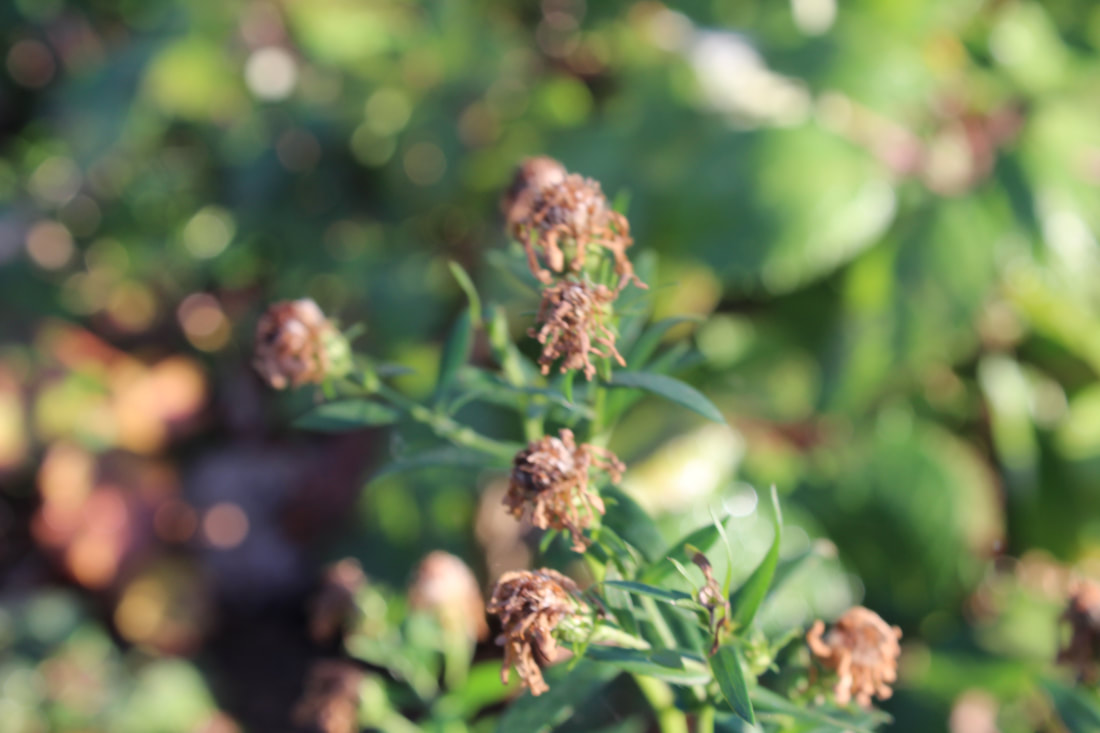
F8
Photoshop
Adobe Photoshop is a raster graphics editor developed and published by Adobe Inc. for Windows and macOS. It was originally created in 1988 by Thomas and John Knoll. Since then, the software has become the industry standard not only in raster graphics editing, but in digital art as a whole.
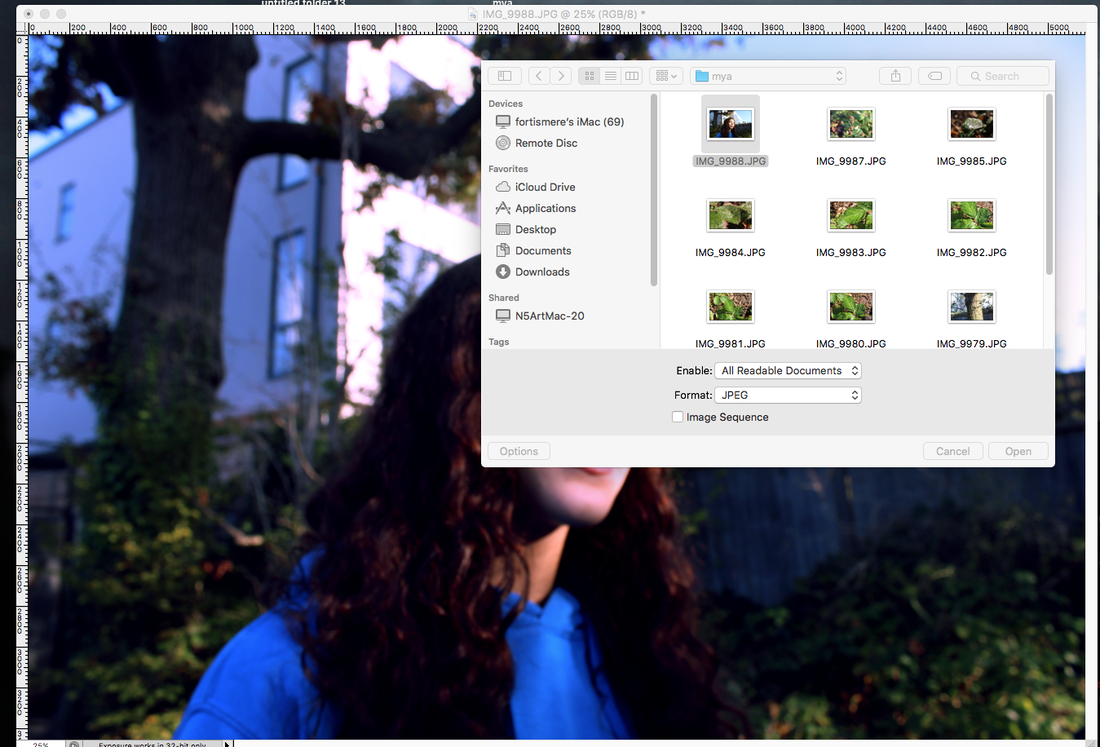
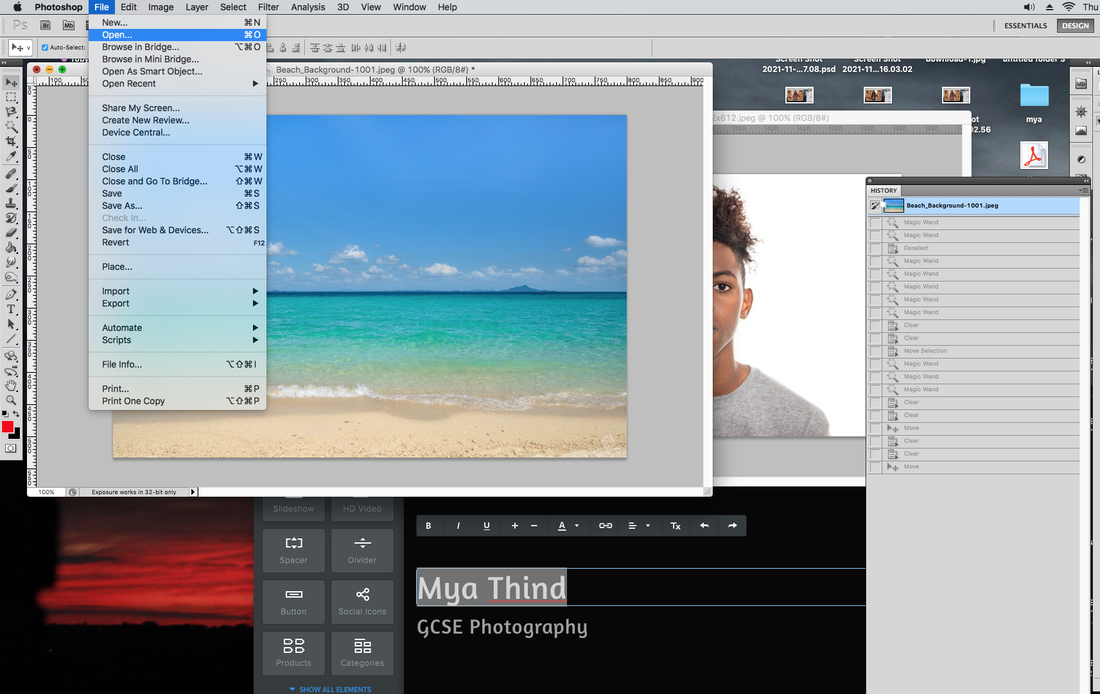
To open an image for photoshop you click file and then click open and choose you photo.


Once you have your picture you go onto image and and click image size amd then change the document size width to about 25 or 20.


You then click on image and go down to image rotation and from there you can choose the way you want it to be, as you can see in the photo i flipped it 90 CW (clock wise) as a demonstration.


To change it to black and white you click image and go onto mode and then click grayscale and that turns it black and white.


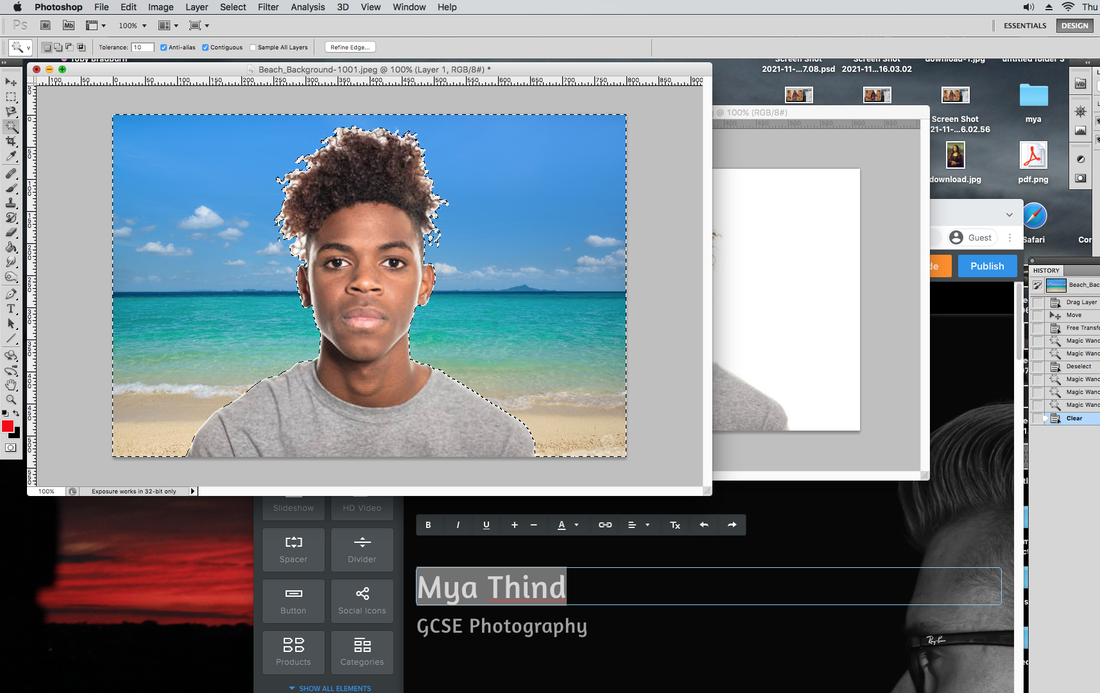
To bring up the history you go onto window and scroll down to history and that should bring up what's in the second picture.


To use the adjustment tool you go to image then adjustment and then click levels and it should bring up a scale and you can change the brightness like i've done in the last picture.

Histogram is found in levels and its purpose is too show a graph of the brightness or even colours.


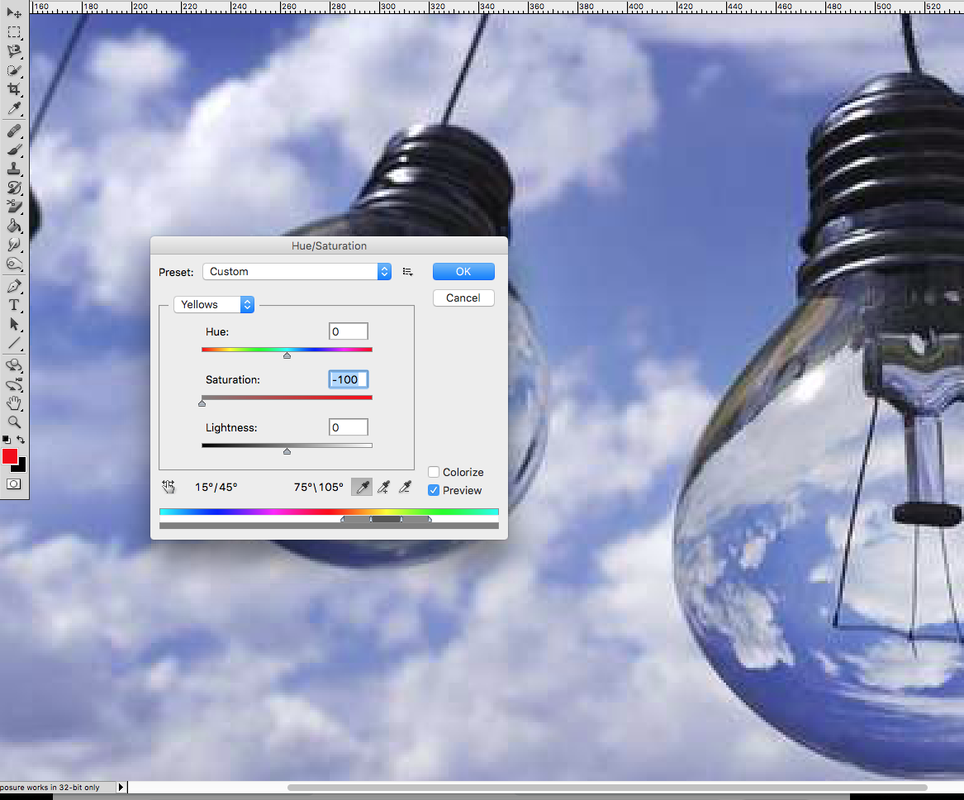
To change the saturation you go to image then adjustments and click on hue/saturation, that should bring up the adjuster and you can change the colour.


Then you click image and then go to adjustments.
WWW: Made a cool picture with saturation.
EBI: Used other pictures not just people but objects and played around with it more.
EBI: Used other pictures not just people but objects and played around with it more.
Fliters
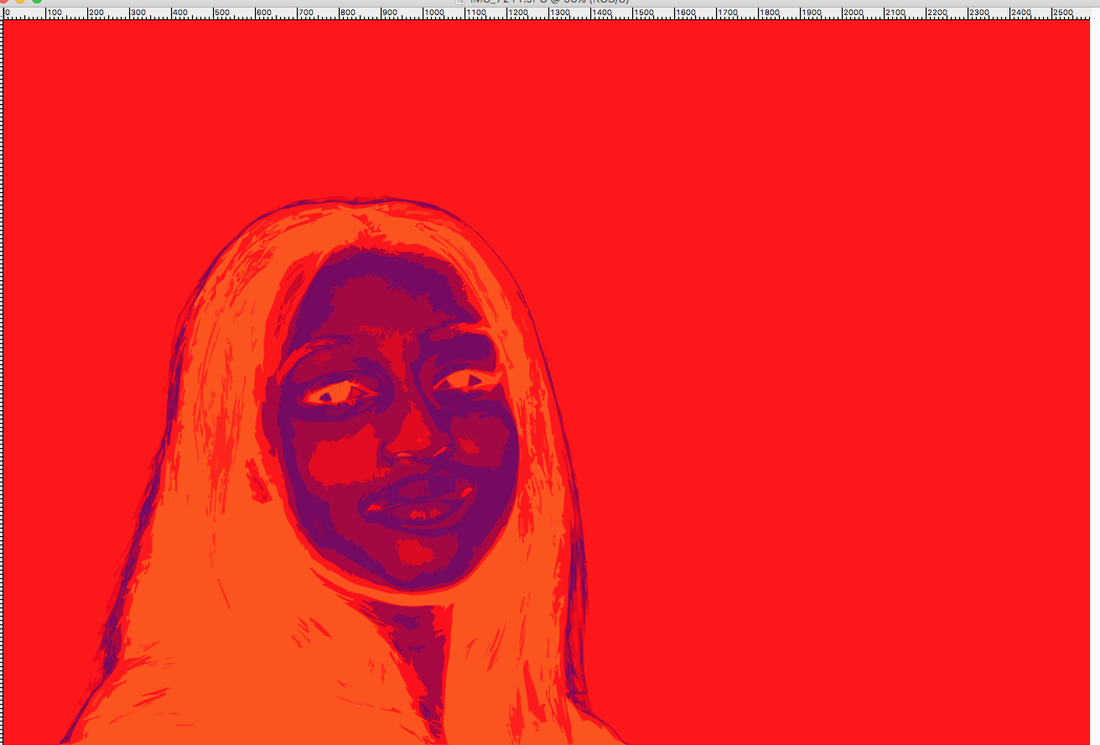
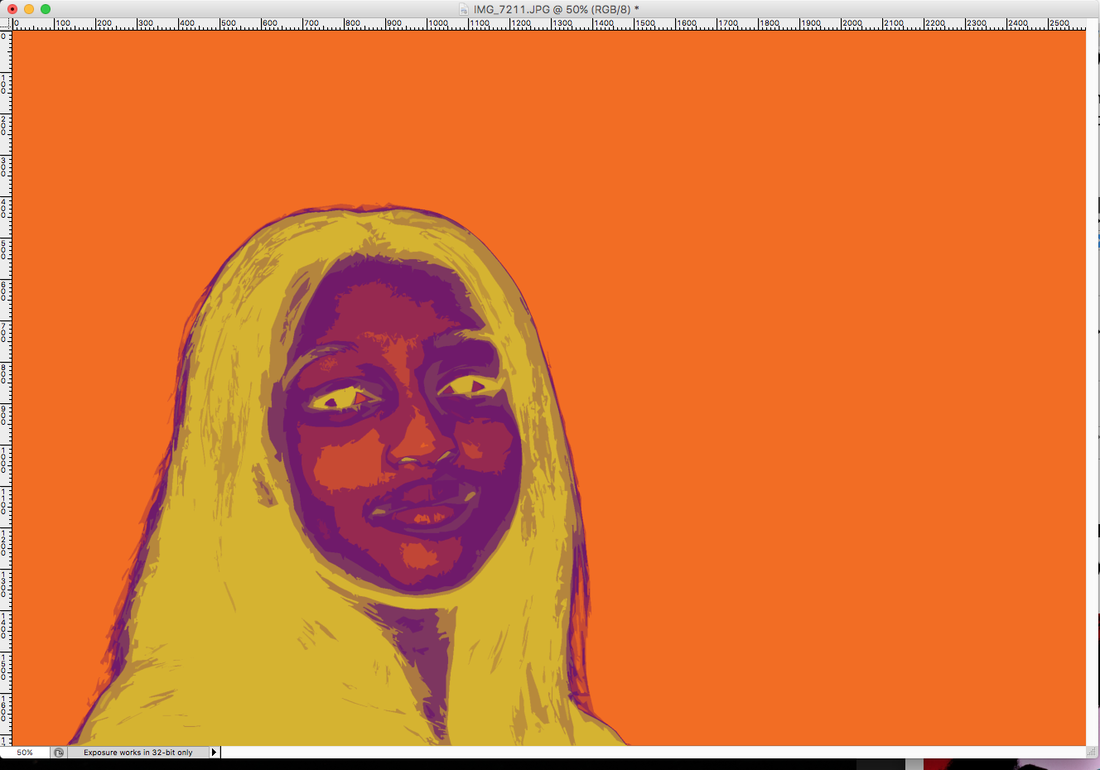
We are designing our pictures like Andy Warhol.
And here are examples of his work:
And here are examples of his work:


Here are my examples:


To start of with you need to change the brightness and contrast. To do this you click image, adjustments and then brightness and contrast and change it to whatever you like the most.


To make your picture have the pop art texture, you go onto filter then artistic and click cutout and then you can drag how much you want it to have the pop art texture.


Then finally you go onto adjustments and then gradient map and choose the colour you like most.
These are my examples of the work we are looking at...
WWW: Used the pop art texture quite well to create a nice image.
EBI: Made it more darker or lighter.
EBI: Made it more darker or lighter.
Layers


First you pick your image and then you make sure your layers are on by going to window. Once you've checked that in the bottom of your screen it should look like the second picture and you drag your picture to the icon with 2 pages on top of each other.
Then you should have two of the same picture. Make sure you're on the background on and change the saturation to the lowest.


Then you look at the side column and click on eraser or click e on your keyboard. start erasing inside the light blub so the black and white comes through.
Final results...

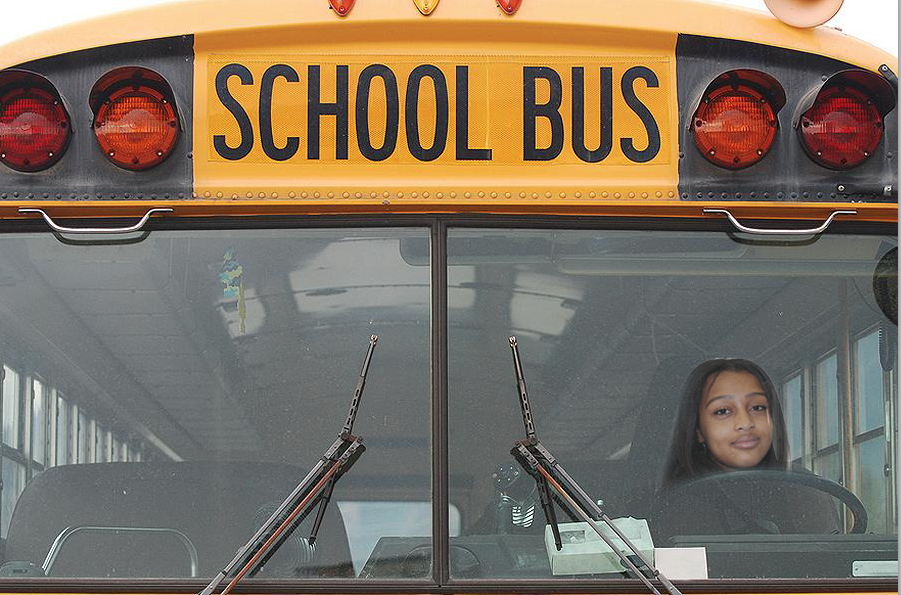
I also tried this effect on a bus...
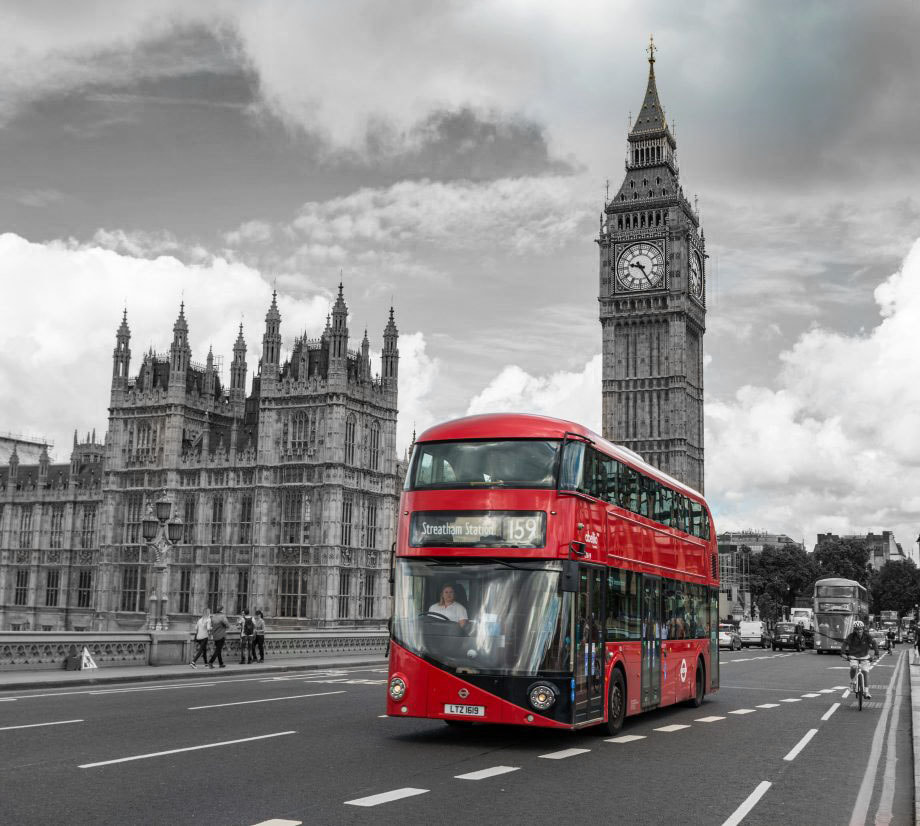
WWW: Turned pictures background black and white, creating a interesting picture.
EBI: Made other things in the picture coloured.
EBI: Made other things in the picture coloured.
Layers continued
You start of by pressing file and then open and open up your two pictures.


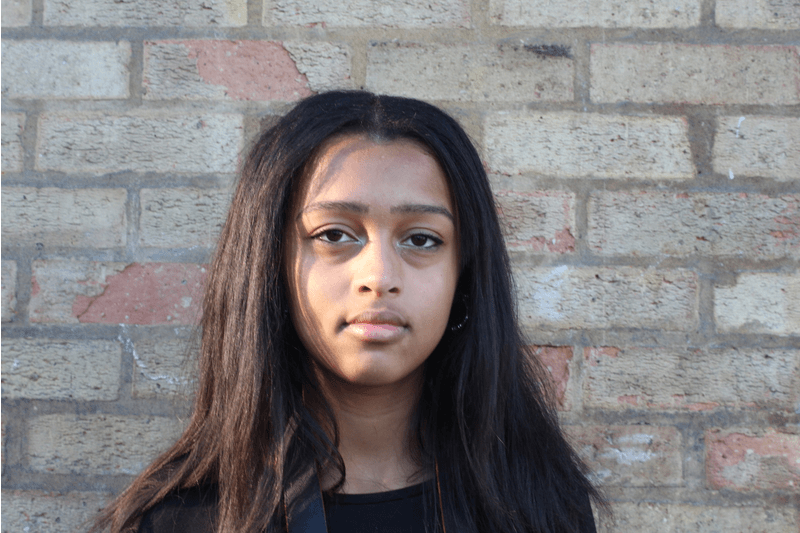
Then you click on your image and move it onto your second picture, then you enlarge it by dragging the corner whilst holding shit.
Then go to your magic tool on the left hand size and crop the white background out.
My example:
WWW: I made a funny image with the layers tool.
EBI: Had a different size of bus and added multiple people.
EBI: Had a different size of bus and added multiple people.
Gif maker


You search up gifmaker.me and then click upload images.


Then you select your images and then put them into the order you would like, once you've done that then you click create gif and you're done.
Here is my attempt...
WWW: I used different pics and made it into a gif on gifmaker.me
EBI: Did one of Laila jumper.
EBI: Did one of Laila jumper.
Photoshop

You start of by clicking file and scrips then load file into stack.
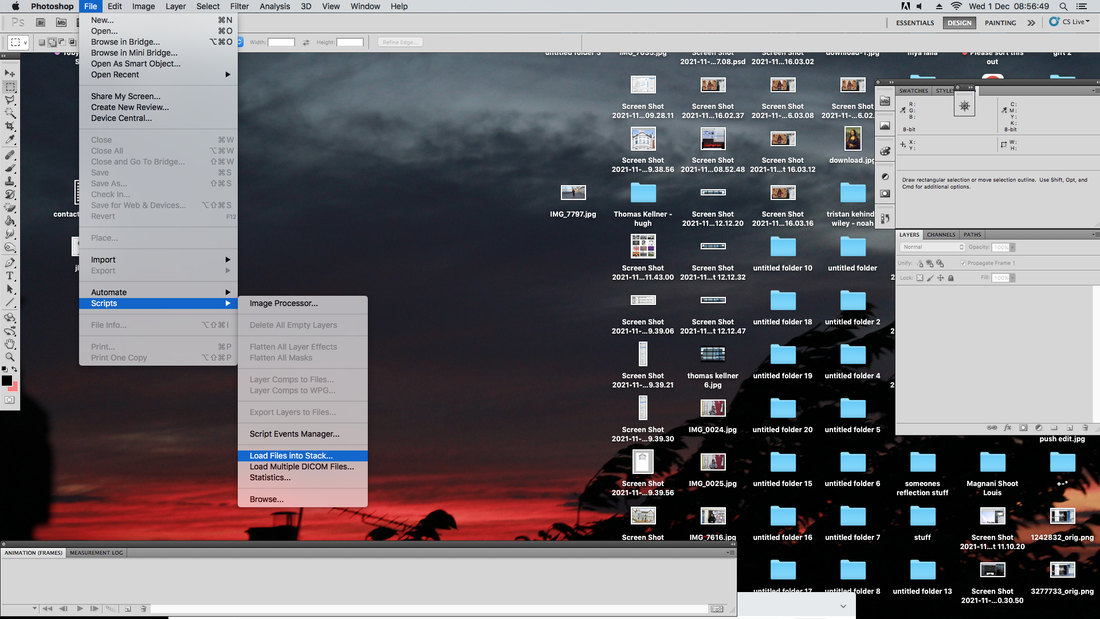
Then you press browse image and choose the images of your choice.


Then click the small black arrow and make frames from layers.


Once you are done go onto file and click save for web & devices.

WWW: Made a gif that looks like she is walking towards me.
EBI: Got better angles.
EBI: Got better angles.
ROMAIN LAURENT


Romain is a photographer based in Los Angeles and he works with photoshop.
Rule of third
When you have a picture it looks lest satisfying if the object was bang on in the middle thats why we use rule of third. This is when you move your camera to either the left of right side and then aim the camera higher, here is the template of the rule of third:

My example...


WWW: Got okay pictures.
EBI: If I had more time to get nicer, clearer pictures.
EBI: If I had more time to get nicer, clearer pictures.
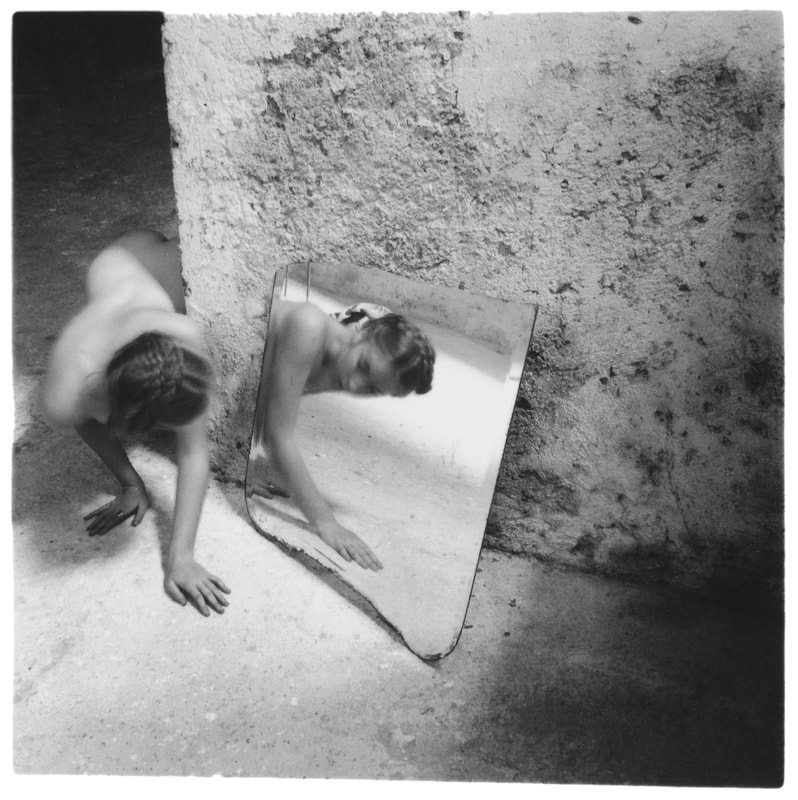
Francesca Woodman
Francesca Stern Woodman was an American photographer best known for her black and white pictures featuring either herself or female models. Many of her photographs show women, naked or clothed, blurred, merging with their surroundings, or whose faces are obscured.
|

|

|
Light photos
Light photos are images that show up the outline of a light when you draw something. Your camera settings should be, BULB, F22, ISO100 and you must be in a dark place and when taking the image you hold down on your picture button and release once you've drawn your design.
Michael Bonsanko
Light painting photographer Michael Bosanko has been capturing light since 2004. He discovered light painting on accident, Michael says this of his moment of discovery, “the moon formed part of the scene, but the camera shake caused the moon to make a streak.


These are some of my images...


Then I turned them into gifs using gifmaker.me:

WWW: Got clear images and turned it into a cool gif.
EBI: There were no computers on in the background and more dark.
EBI: There were no computers on in the background and more dark.
The presentation of your weebly is good and each section has been thought out and completed. Please also make sure that all the images shown are in focus and bright enough and number of your images are a little soft in focus.
Your long shutter speed work linked to Francesca woodman is incomplete and missing your images please make sure to upload your responses to demonstrates your understanding of photographic technique.
Your giffs and colour B/W images are also good and and show a developing understanding of photoshop technique but just make sure as mention before all work uploaded is in focus.
Double check all of your explanations to ensure that you explain tasks and processes thoroughly. You also need to expand your analysis of the artists going more in depth about their visual practice and how it relates to your work.
Continue to experiment and practice the techniques introduced during foundation. Make sure to persevere with tasks until you get the required outcome.
